Tax Calendar Help
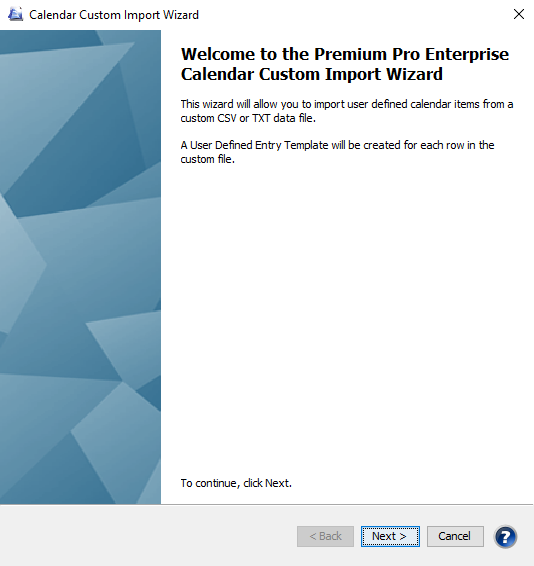
Importing Custom Dates in Calendar
You may import custom dates into Calendar using the Custom Data File
Wizard. You will need a CSV or TXT data file to import. You may import
custom columns, but your file must contain columns for Due Date, Tax Type,
State, and Description.
Steps to Import Custom Dates:
- From the Calendar menu bar, go to Import and select Import Custom
Data File Wizard.

- Click Next.
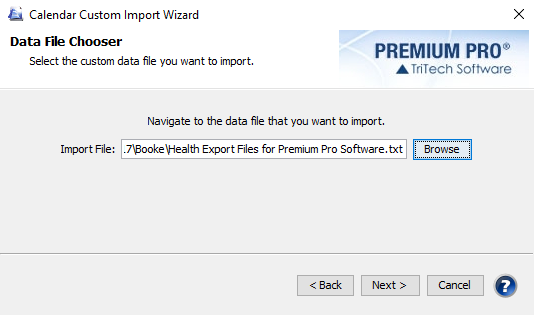
- Browse to your import data file and click Next.
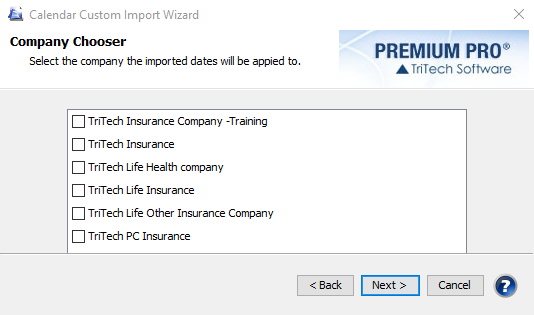
- Select the companies that these custom entries will apply to. Click
Next.
- Select the file delimiter (comma, pipe, tilde, tab).
- The optional categories available to import are listed on the left.
Due Date, Tax Type, State, and Description are required, so you cannot
remove these columns from the selected list. Using the left and right
arrow buttons, move every column you wish to import to the right side
under Selected Columns.
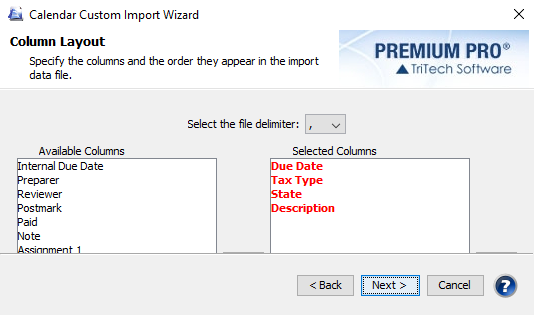
- Now use the up and down arrow buttons to arrange the selected columns
in the same order that the information appears in your data file.
You can change the order of Due Date, Tax Type, State, and Description
to match the order of your data file, but you cannot remove them.
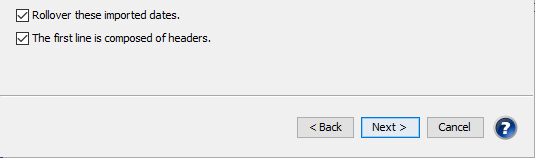
- Check the check boxes to indicate if you wish to have the imported
dates rollover, and if the first line of your data file is composed
of headers. If the due dates in your data file recur annually,
check ‘Rollover these imported dates.’ Click Next.
- If you are importing Reviewers and Preparers, you will need to
map users in your import file to Enterprise users. Select a user from
your Import file on the left then select the corresponding Enterprise
user on the right. Click Map It.
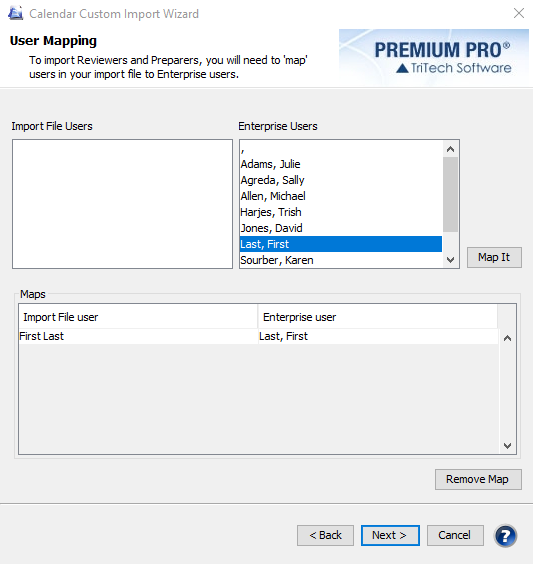
- Repeat Step 9 until all of your Reviewers and Preparers are mapped,
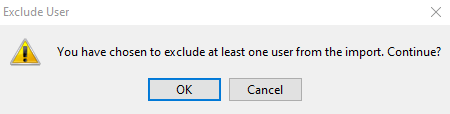
then click Next. If there is anyone included in your import file that
you do not map to your Enterprise users, you will receive a message
asking if you wish to continue. Click OK to continue, or click cancel
to continue mapping users.
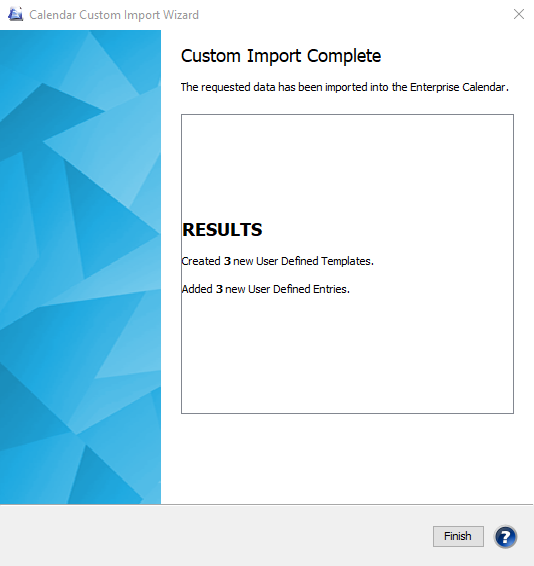
- Click Next to continue.
- Click Finish.
Our website
address: www.tritechsoft.com
Our mailing
address: 1205 S. Greenville Ave, Allen, TX 75002.
Questions?
You can reach us at 1-800-380-6407
Or
contact Support
here.
©1995-2019
TriTech Software Development Corp. ©2006-2019 TriTech Services Inc. All
rights reserved. Premium Pro® is a registered trademark.