Tax Calendar Custom Entries
Custom Entries in Calendar
Calendar is pre-loaded with the
due dates for all active forms in Enterprise. However, users have the
ability to add their own custom user entries.
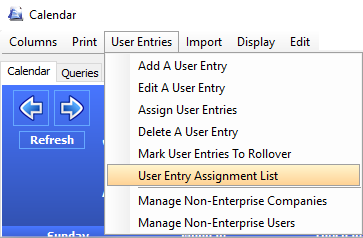
- Go to User Entries on the Calendar menu bar and select Add a User
Entry.
- A New User Entry window will open. If desired, you can select the
company(ies) that the new entry will apply to by checking the checkbox
next to the company name. If you do not want to assign companies at
this time, you may do so after the entry is created.
- Select the actual due date for the entry by clicking on the date
under Due Date. A calendar will appear that allows you to click on
the due date.
- Select the internal due date for the entry by clicking on the date
under Internal Due Date.
- Enter the state that applies to the new entry.
- Select the tax type that applies to the new entry by clicking on
the drop down box next to Tax Type.
- If you would like to add a new tax type, click on the green plus
sign next to the dropdown box. Enter the name of the new tax type,
then click OK. It will then be a choice in the tax type dropdown box.
- If you would like to delete a tax type, select the tax type you
want to delete from the dropdown box and then press the green minus
sign. Select Yes to delete.
- Enter a description of the new entry in the Description text box.
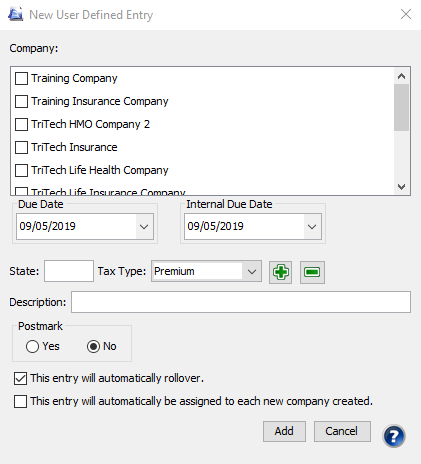
- Select Yes or No under Postmark to indicate if a USPS postmark
is accepted.
- If you do not wish the entry to be carried forward to the next
year, uncheck the checkbox next to ‘This entry will automatically
roll over.’
- If the new entry will apply to all companies added to Enterprise
in the future, check the checkbox next to ‘New companies will automatically
get this entry.’
- Select Add to save the user entry.
You may also set the status for
a Custom Entry from the Status column in the date list.
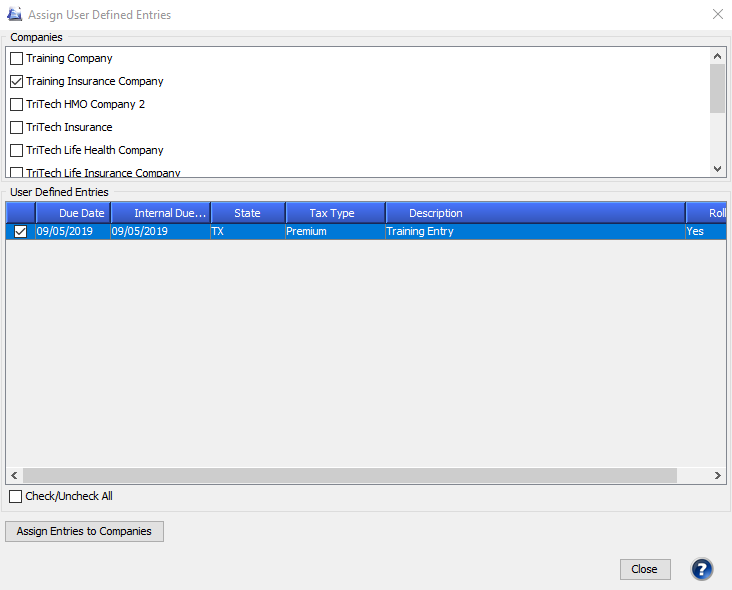
Assigning a User Entry to Companies
Once you create user entries, you can assign one entry to a single company
or assign multiple entries to multiple companies at one time.
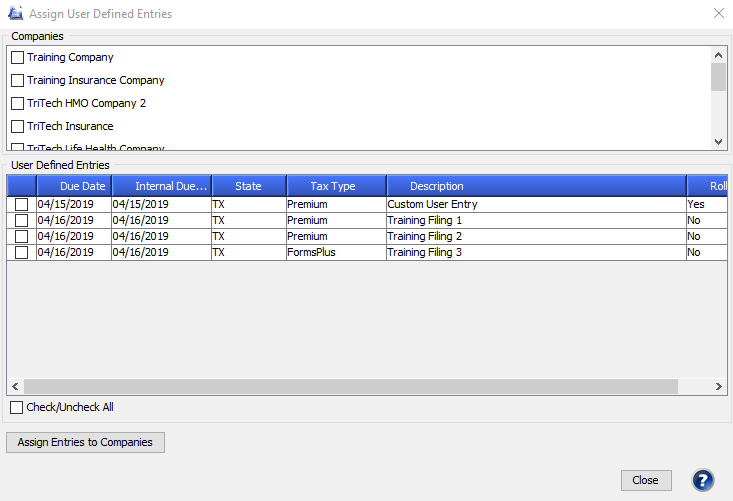
- Go to User Entries on the Calendar
menu bar and select Assign User Entries.
- Check the checkbox next to
the companies you want to apply the user entry to.
- Check the checkbox next to
the user entries you want to apply to the selected companies.
- Click Assign Entries
to Companies to apply.
Editing a Custom Entry
- Go to User Entries on the Calendar
menu bar and select Edit a User Entry.
- Select the user defined entry
you wish to edit, then change the appropriate information.
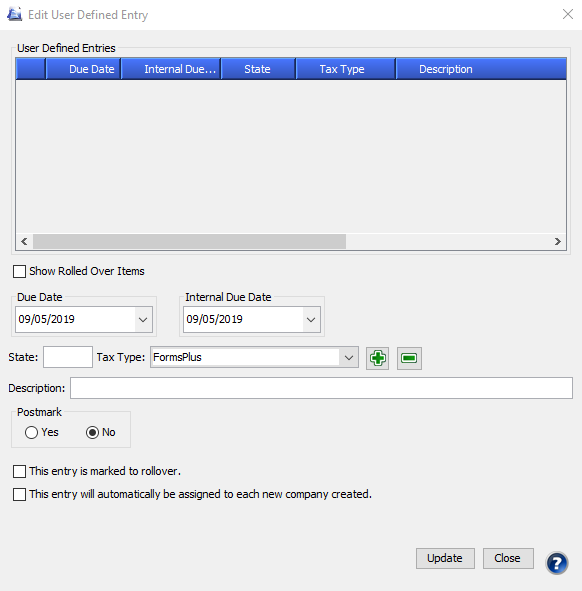
- Click Update to save
your changes. Calendar will update all existing occurrences of the
entry.
Deleting a Custom Entry
- Go to User Entries on the Calendar
menu bar and select Delete a User Entry.
- Check the checkboxes next to
the user entries you wish to delete.
- If you wish to delete all existing
occurrences of this user entry, check the checkbox next to ‘Also remove
ALL assignments made to these User Defined Entries,’ If you do not
check this checkbox, no existing occurrences will be deleted. However,
you will no longer be able to assign this user entry to new companies.*
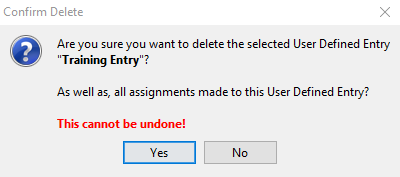
- Click Delete Selected
Entries to proceed, and then choose Yes to delete the entries.
If you later want to delete an
existing occurrence of a user entry, you can do so from the date list
from either the Calendar tab or on the Query tab:
- From the Calendar tab, click
on the due date of the user entry on the Calendar. All entries due
on that date will then be listed at the bottom of the screen in the
date list.
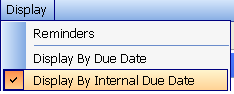
Note: You can choose to display Calendar entries by the actual due
date or the internal due date. If you have your preference set to
display by the internal due date, you will need to click on the internal
due date on the Calendar in order to display that entry in the date
list. To change your display preference, go to Display on the Calendar
menu bar and choose 'Display by Internal Due Date' or 'Display by
Due Date.'
From the Query tab, run the appropriate query and the entries matching
that query will then be listed at the bottom of the screen in the
date list.
- Click on the user entry you
wish to delete. It will then be highlighted in blue. (Select multiple
entries by holding Ctrl then clicking on more entries.)
- Right click on the highlighted
entries and choose “Delete User Defined Entries.”
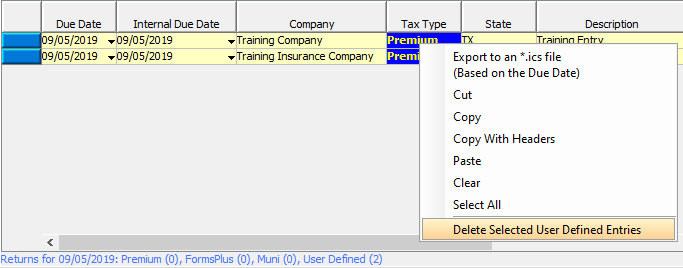
- Click Yes to delete the
entries.
Mark User Entries to Rollover
If you would like to set or change rollover options for the custom entries
in Calendar, you may do so by using the "Mark User Entries to Rollover"
dialog.
You may set the rollover options
for all of your various user entries in one place by going to 'Mark User
Entries to Rollover.'
Steps To Mark User Entries to
Rollover:
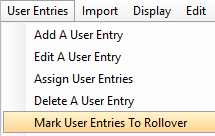
- From the Calendar menu bar,
go to User Entries and select Mark User Entries to Rollover.
- Check the check boxes next
to each entry you would like to roll over for next year.
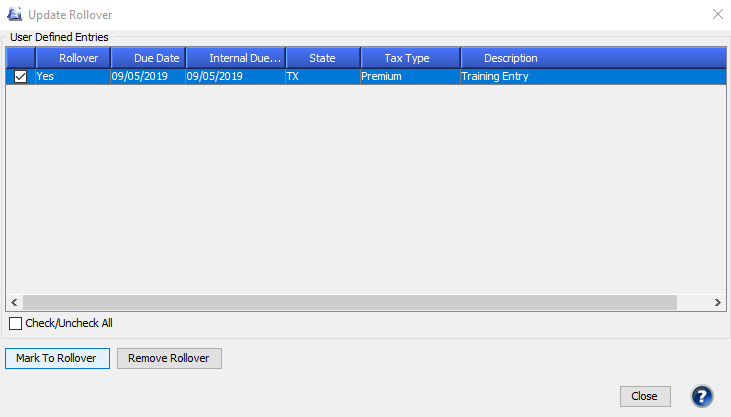
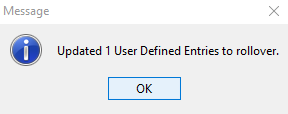
- Click the Mark to Rollover
button. A message will appear telling you that the entries you marked
will rollover.
- Entries that will rollover
will say Yes in the Rollover column. If there are entries that are
marked to rollover that you do not want to rollover, select the check
boxes next to them and hit the Remove Rollover button.
- When you are finished,
click Close.
User Entry Assignment List
The User Entry Assignment List under the User Entries menu allows you
to manage your user entries from one location. From here, you are able
to review all of the User Defined entries in Calendar and edit, assign,
and delete your entries.
The User Entry Assignment List displays the number of companies each
user entry is assigned to, as well as the Description, Due Date, Internal
Due Date, State, and Tax Type of each user entry you have created.
It is common to end up with “orphan”
user entries that are not assigned to any companies. This may happen if
a user imports the same file multiple times creating duplicate user entries.
When looking at the Calendar, you may not be able to distinguish between
these duplicate entries.
Steps to Edit, Assign and Delete User Entries
- From the User Entries menu in Calendar, select User Entry Assignment
List.
- Select the user entry you would like to modify. Notice that each
company the user entry is assigned to is displayed in the bottom left
corner.
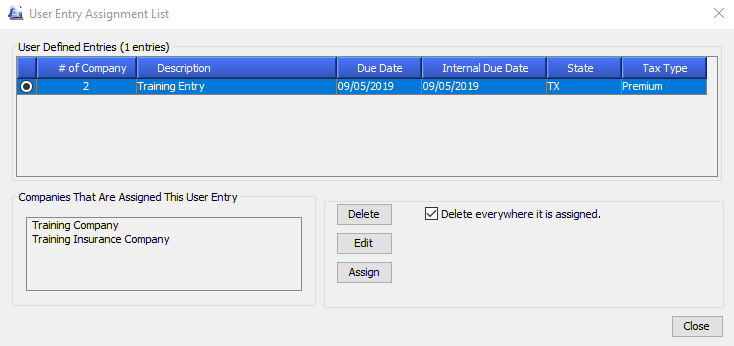
- Press the Delete button to delete the user entry template only.
If this user entry has been assigned to companies, those assignments/entries
will still show up in Calendar queries and in the Calendar date list
under the companies it is assigned to. However, you will not be able
to assign this user entry to any companies in the future and it will
no longer show up in the User Entry Assignment List.
- If you select the ‘Delete everywhere it is assigned’ checkbox,
and then press the Delete button, the entry will be permanently deleted
from every existing place it is assigned. All traces of the entry
will be removed. The entry will no longer show up in any Calendar
query or in the Calendar date list and you will not be able to assign
it to any other companies in the future.
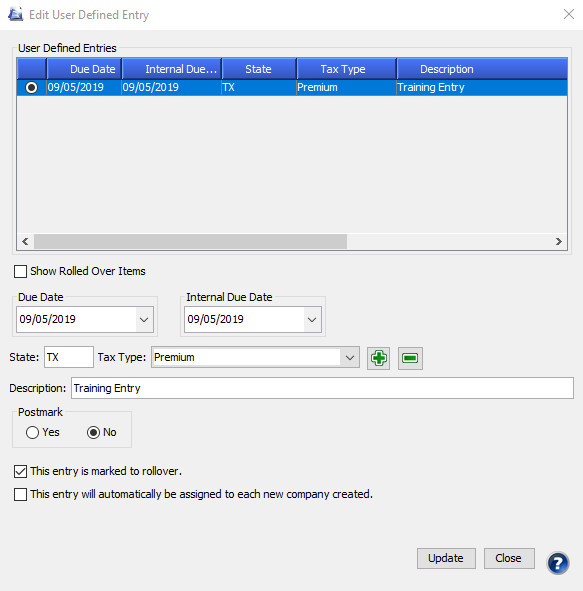
- Press the Edit button to edit the user entry template. From here,
you can modify the Due Dates, State, Tax Type, Description, Postmark,
and whether or not the entry will automatically be assigned to each
new company that is created. When finished, press the Update button,
then press Close.
- To assign the entry to more companies, press the Assign button.
Select which companies you would like to assign the user entry to,
then press the Assign Entries to Companies button. When finished,
press Close. See the Assigning a User Entry to Companies section for
more user entry assignment options.
Duplicate User Entries
It is possible to end up with “orphan” user entries that are not assigned
to any companies. This may happen if a user imports the same file multiple
times creating duplicate user entries.
Steps to Delete Duplicate (Orphan) User Entries
- From the User Entries menu in Calendar, select User Entry Assignment
List.
- Filter the User Entry Assignment List by the “# of Companies” column
by right clicking on the column header, and then checking the “0”
checkbox to pull up all user entries that are not assigned to any
companies.
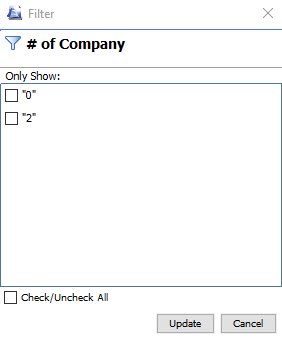
- Select the date and click Delete. Each entry must be done separately.
Adding
a Non-Enterprise Companies and Users in Calendar
For more information on adding non-Enterprise
companies and users in Calendar, please
click here
Our website
address: www.tritechsoft.com
Our mailing
address: 1205 S. Greenville Ave, Allen, TX 75002.
Questions?
You can reach us at 1-800-380-6407
Or
contact Support
here.
©1995-2019
TriTech Software Development Corp. ©2006-2019 TriTech Services Inc. All
rights reserved. Premium Pro® is a registered trademark.