
|
The Return Attachment feature in Premium Pro Enterprise allows you to organize and maintain your supporting documents on a return by return basis. You can also attach items to the Company Information Schedules and the Summary Schedules.
Using the icons on the Attachment toolbar, you can choose to add folders, files, and links globally or to specific returns. You can also replace, delete, view or export (save as) the attachments and links at any time.
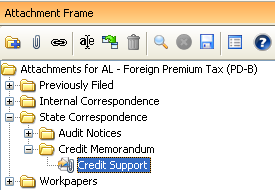
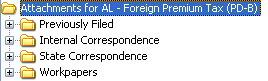
By default, there is one Attachments folder for each jurisdiction in the Attachment Frame. If you amend a return, a folder named Previously Filed will also be automatically created containing the original filing that was submitted.
Users may create custom folders to better organize their documentation. These folders will automatically rollover from year to year.
Steps to Add a Custom Folder
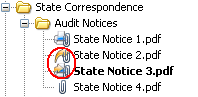
Attachments are used to attach static files that will not change. With this feature, you can store your state audit notices, spreadsheets, email correspondence, credit documentation or any other item that may be associated with a particular state return. Once attached, the files can be opened by clicking on the file attachment in the Attachment Frame. You can choose to view PDFs in their outside program, or you can view PDFs from within Enterprise.
Viewing PDFs in the Attachment Frame
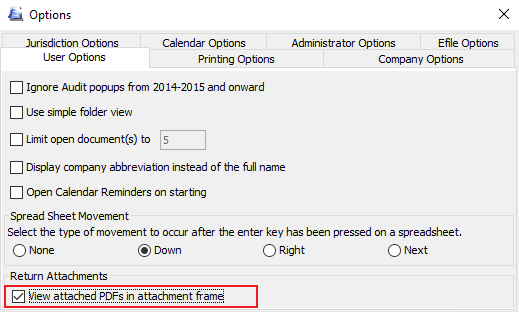
To view PDFs from within the Attachment Frame in Enterprise (instead of opening outside of Enterprise), go to the Tools Menu and select Options. From the User Options Tab, check the option under Return Attachments that says View attached PDFs in attachment frame.
Number of Attachments
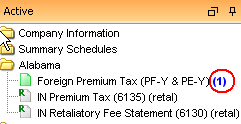
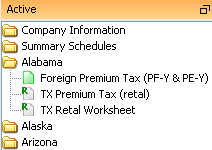
After you attach a file, a number in parenthesis will appear next to the return name in the active tree. The number indicates how many files have been attached to the return. As you add more files, the number will increment.
You may add an attachment to a return by right clicking on the return in the Active tree, or from the Attachment Frame within Enterprise. You may also add attachments by dragging and dropping the file from your computer to the appropriate return, or by dragging and dropping from Outlook. You can drag and drop the entire email, or drag and drop a single file from the email.
Adding an Attachment from the Attachment Frame

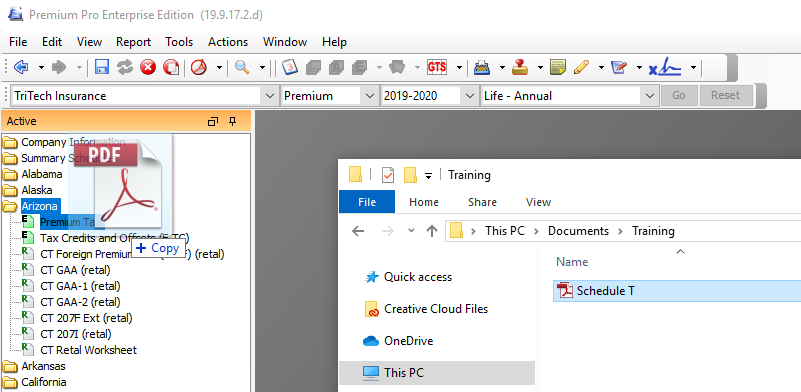
Adding an Attachment by Dragging and Dropping from your Computer

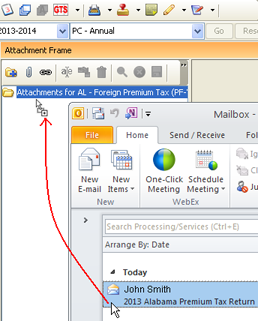
Adding an Attachment by Dragging and Dropping from Outlook

To save an attachment from Enterprise, you may drag and drop files from the attachment frame to a location on your computer. You may also drag and drop files from the attachment frame directly to an email message.
Saving Attachments
You may save Enterprise attachments to your computer by using the same drag and drop method described above. You just drag the attachment to the appropriate location on your computer, instead of from your computer into Enterprise. You can also save attachments by right clicking on the attachment in the Attachment Frame and selecting 'Save Attachment as.' Similarly, you can also drag an attachment from the Attachment Frame into an email in Outlook.
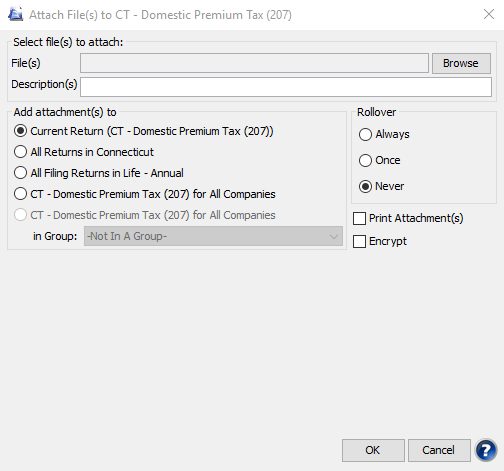
You may print attachments directly to the attachment frame. This feature allows you to print an item, such as a credit worksheet or return, directly into the attachment frame of another return.
Open both the item you want to attach and the item you want to attach it to.
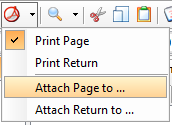
Choose the item you want to attach the PDF to.

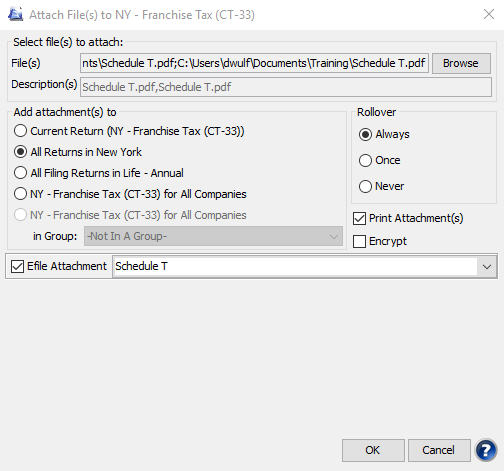
The Attachment dialog box will appear. Choose your desired options
and select OK.

You may add attachments in Enterprise for the e-file states that allow attachments. The e-file attachments will then automatically flow into the e-file wizard where appropriate when it is time to submit the filing. This will save you time and confusion when e-filing because the software will automatically locate the files when going through the e-file process.
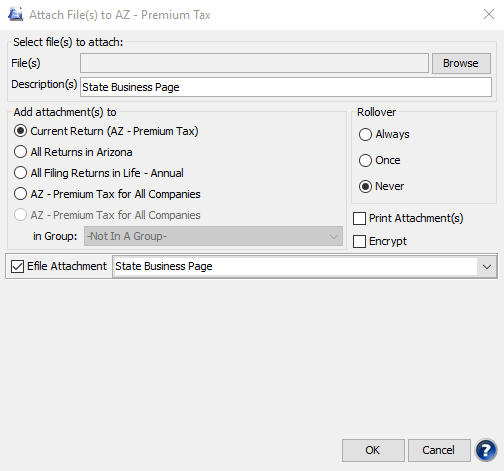
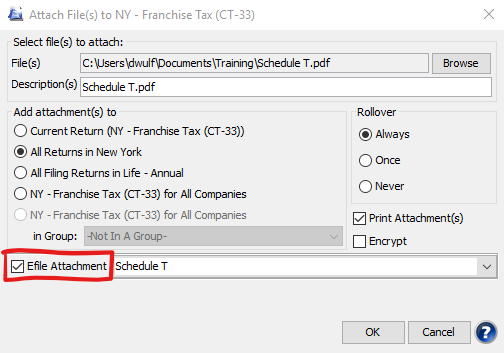
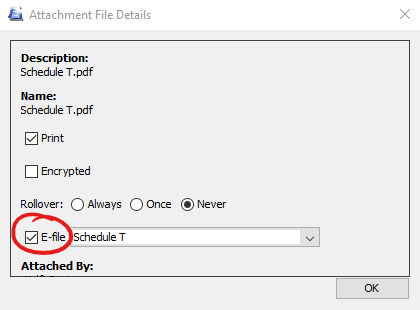
There are two ways to set the attachment type to e-file. When you first attach a file, you will have the option to set the file as an e-file attachment by checking the e-file box in the attachment window.
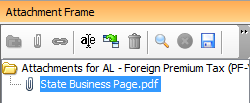
Most e-file states will only have a dropdown that says “ANY.” However, some states (such as MI, FL and GA) require specific attachment types, which you will set by choosing the appropriate option from the dropdown next to the e-file checkbox. Only one attachment can be set to any specific e-file type, such as State Business Page. If you try to set a second attachment to that same type, a warning will appear giving you the option to reset the original.
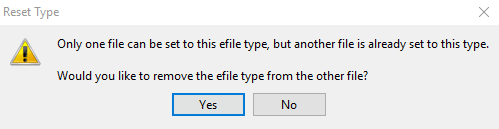
If you choose Yes, the original attachment will no longer be set as an e-file attachment. You will have to go to the File Details (see below) of the original attachment if you would like to change it back to an e-file attachment.
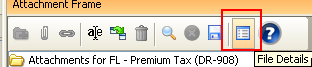
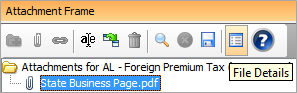
The second way to set the attachment type to e-file is by changing the File Details. To do so, right click on a file in the Attachment Frame that has already been attached and select File Details or click on the File Details icon.
Check the checkbox next to E-file to set the attachment type to e-file and choose the subtype from the dropdown if applicable.
You will notice that the icon of the e-file attachment looks like a paperclip with the letter E on it. You can set an efile attachment to print or rollover, just as you can with any other attachment.
You may also automatically attach the state business page and schedule T to returns of e-file states that require these schedules, and automatically mark the attachments for e-file attachments by selecting Attach State Business Page/Schedule T to E-File States from the Actions menu.
Links can be attached to returns allowing you to view documents and folders that are continuously updated. If you revise a linked document or folder, when you click on the link in Enterprise, it will take you to the newly updated file or folder. Linked documents will open outside of Enterprise in their respective programs (Word, Excel, Adobe, etc.).
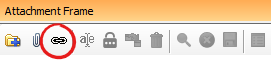
The steps to add a Link are the same as adding an attachment (above). Simply click on the link icon instead of the attachment icon on the Attachment Frame tool bar. The steps to add a linked folder or document are the same as adding an attachment. Simply click on the link icon instead of the attachment icon on the Attachment Frame toolbar. A link icon will be displayed next to the link.
If you move or delete a file or folder that is linked, a broken link icon will display next to that link indicating that the file or folder it is pointing to does not exist. You must relink the broken link.
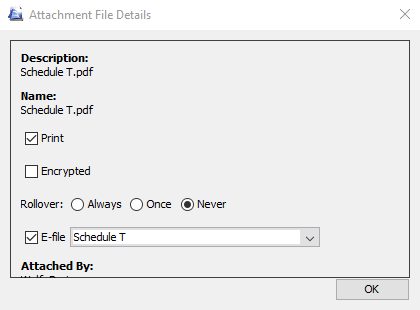
When attaching a file, you may choose to have the attachment rollover to future product years and print with returns. You can change or select these options in the File Details dialog.
File Details
After you attach a file, you may later change the attachment’s file details in order to have it Print with returns or Rollover to the next year. The File Details also list who attached the file along with a time and date stamp.
Items marked as Print during the attachment process can later be selected to print with the return. While all file types can be added in the Print folder, only PDFs can be set to automatically print with returns.
Rollover
Any items marked as Rollover during the attachment process will transfer from year to year.
Steps to View or Change Attachment File Details
Click on an attachment in the Attachment Frame.
|
The paperclip icon indicates an attached document. |
|
The chain-link icon indicates a linked document. |
|
The link icon with a folder behind it indicates a linked folder. |
|
The printer icon indicates that the item will print with the return when "Attached PDFs Marked as Print" is selected from the Print Options. Available for attachments and linked documents, but not linked folders. |
|
The yellow arrow icon indicates that the item will rollover with each product year,in accordance with the File Details. |
|
The yellow arrow, plus the printer indicates that the item will both print and rollover as described above. |
|
The broken link icon indicates that the linked folder or document has been moved or removed from the original location. Check the file path, or right click on the broken link and choose Replace Link to fix the broken link. |
|
The E paperclip icon indicates an e-file attachment. |
|
The E plus the printer indicates that the e-file attachment will print with the return when "Attached PDFs Marked as Print" is selected from the Print Options. |
|
The E plus the yellow arrow indicates that the e-file attachment will rollover with each product year, in accordance with the File Details. |
|
The E plus the yellow arrow, plus the printer icon indicates that the e-file attachment will both print and rollover as described above. |
Our website address: www.tritechsoft.com
Our mailing address: 1205 S. Greenville Ave, Allen, TX 75002.
Questions? You can reach us at 1-800-380-6407
Or contact Support here.
©1995-2019 TriTech Software Development Corp. ©2006-2019 TriTech Services Inc. All rights reserved. Premium Pro® is a registered trademark.


